Managing Your Account
Update your profile, preferences, and account settings.
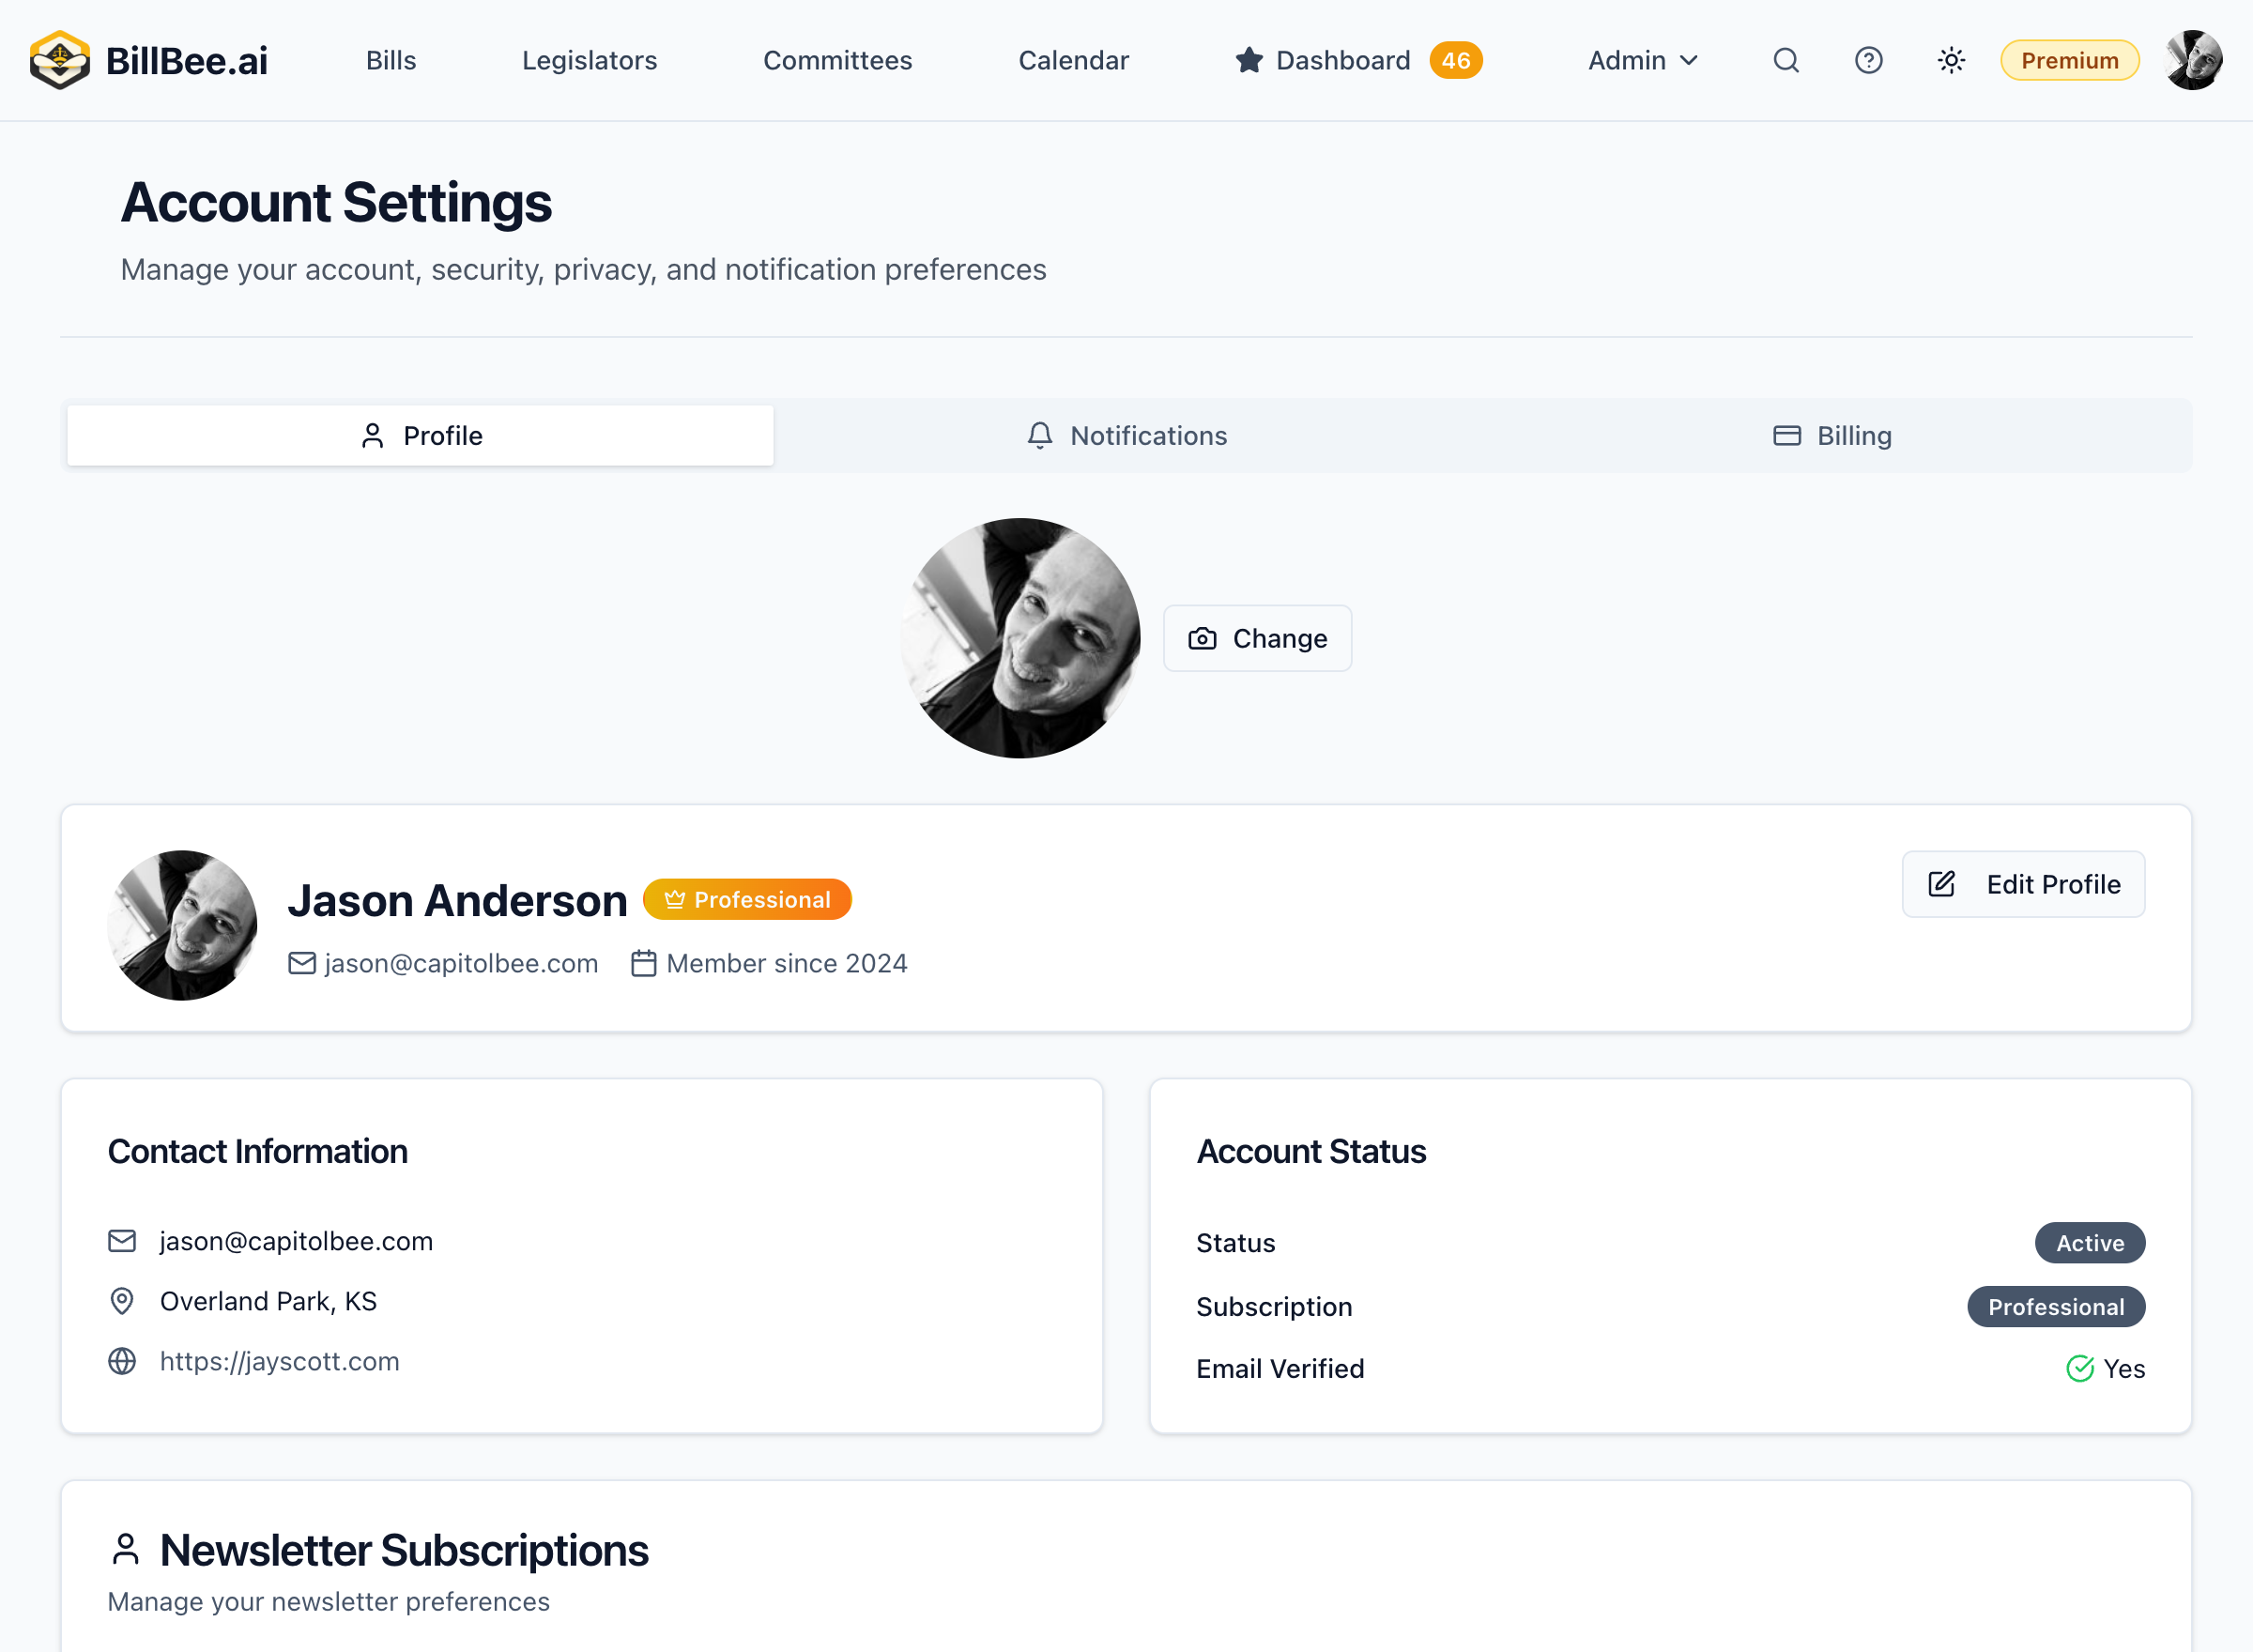
Profile Settings
Updating Your Profile
-
Click your profile icon in the top right
-
Select Settings
-
Update your information:
- Name
- Email address
- Organization (optional)
- Timezone
-
Click Save Changes
Changing Your Email
- Go to Settings > Profile
- Enter your new email address
- Click Update Email
- Verify the new email by clicking the link sent to it
Your old email remains active until the new one is verified.
Changing Your Password
- Go to Settings > Security
- Enter your current password
- Enter and confirm your new password
- Click Update Password
Notification Preferences
Control how BillBee communicates with you:
- Go to Settings > Notifications
- Configure:
- Email alerts (on/off, frequency)
- Digest settings (daily, weekly, off)
- Alert types (which events trigger notifications)
Learn more about notifications
Billing Management
Viewing Billing History
- Go to Settings > Billing
- View past invoices and payments
- Download receipts as needed
Updating Payment Method
- Go to Settings > Billing
- Click Update Payment Method
- Enter new card details
- Click Save
Canceling Your Subscription
- Go to Settings > Subscription
- Click Cancel Subscription
- Confirm cancellation
Your access continues until the end of your current billing period.